Home Network Upgrade
23 Jan 2021I recently completed several upgrades to my home network to improve privacy, security and VPN performance.
Previous State
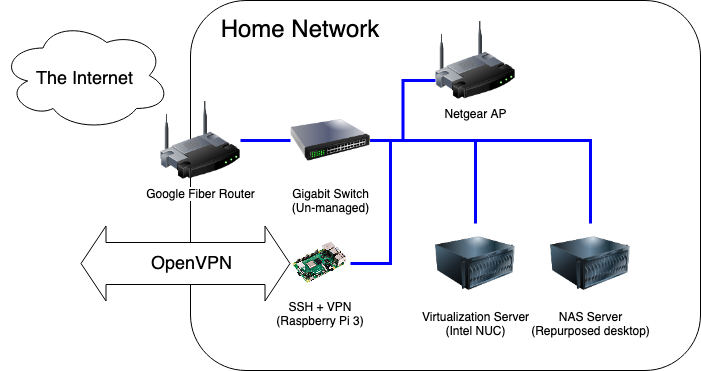
Living in Downtown Nashville has its perks, and one of the biggest ones for me was having my choice of several Gigabit fiber options in my apartment. I have Google Fiber, and was using the Google-provided router with no real issues. The web admin portal was easy to use and albeit simple, provided the basic tools I needed to configure the network the way I liked it: port forwarding, DHCP range limiting. The only problem was, it felt icky going through a Google site to change settings on my local router.
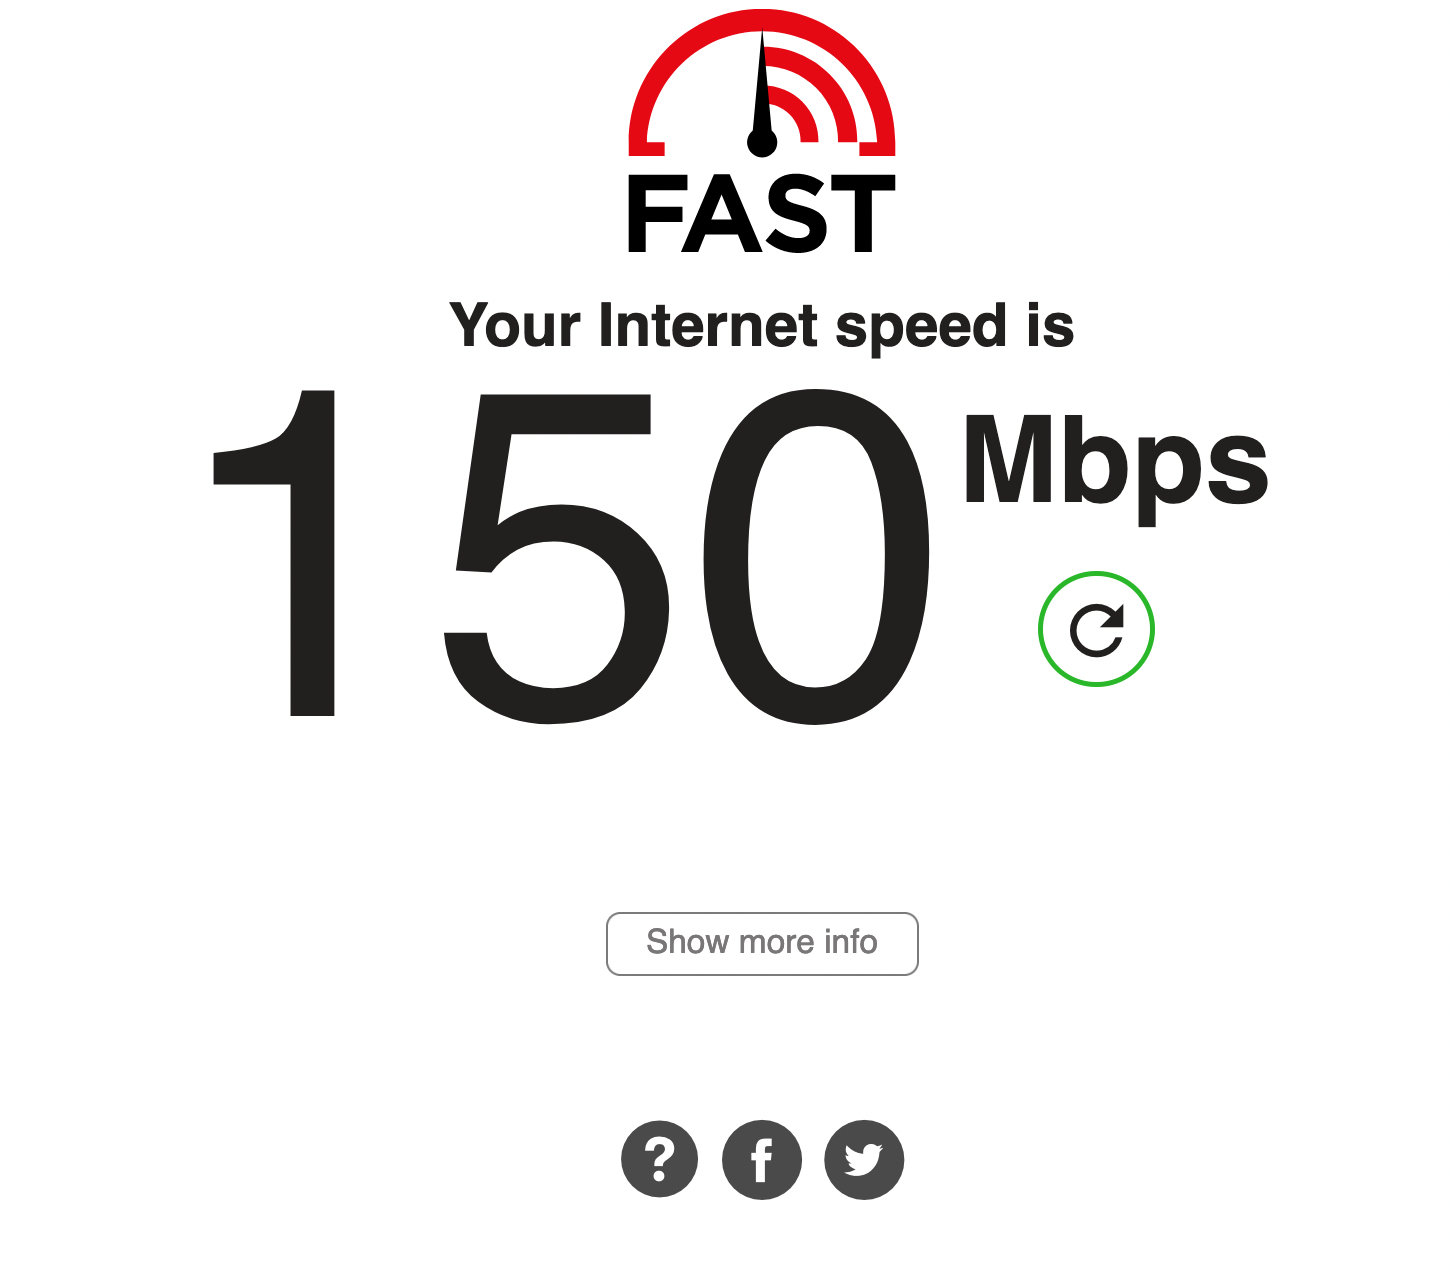
Additionally, OpenVPN has been an issue. OpenVPN is known to not be the fastest VPN option, and I was not doing myself any favors by running it on a Raspberry Pi 3 – its NIC is only 100Mbps, so I would never be able to saturate my gigabit connection even if its CPU was up to the encryption overhead of OpenVPN. I think this speed test says it all:

Making OpenVPN’s slowness even more painful was the fact that I had to be on the VPN in order to use many homelab services, even within the network. This was due to DNS hosting, since I didn’t trust my cobbled-together DNSmasq implementation (also on that Raspberry Pi) to be stable, I never made it the network-wide default.
Upgrades

First on the list was fixing my DNS problem. I wanted a solution that was:
- Reliable. DNS going down is not an option when I am working from home and my wife is in remote classes.
- Ad-blocking. This was already in place with my existing DNSmasq solution.
- Private. The increasing monopolization of DNS resolving by large Internet companies is concerning, and I am sick of sending 1.1.1.1 my data.
I spun up a virtual server to run Pi-Hole for ad-blocking and unbound for DNS resolving. This was my first time using Pi-hole after hearing about it for years, I am quite pleased with the results so far. I added my homelab service DNS entries to it and made it the default DNS network-wide, so I no longer need to use a VPN to access those services.
Second on the list was replacing the Google-provided router with one running pfSense. I bought a Qotom Q190G4N with an 4-core Intel Celeron J1900 and 8GB of RAM, it packed plenty of punch for my needs and comes in a small heavy-duty case. Installing pfSense and configuring it to mirror my previous set up took less than an hour.
Finally, I axed OpenVPN. I replaced the Raspberry Pi 3 with a 4GB Pi 4 and installed Wireguard using PiVPN and passed the port through my shiny new firewall. Client configuration is no harder than OpenVPN (copying config files from the server) and much easier for the mobile client using the QR code option.
The speed difference is night and day. I haven’t been able to fully test the speed of the VPN from outside of the network because I am able to saturate every outside network I try.
Overall, my couple hundred dollar upgrade made my network much faster and easier to use. Below are some of the guides I followed while setting things up.
Resources
Router
- Using your own router with Google Fiber
- Qotom Q190G4N (Amazon) – 8GB RAM, No Wifi
- pfSense install guide
- pfSense documentation